How to Edit Pictures with Masks
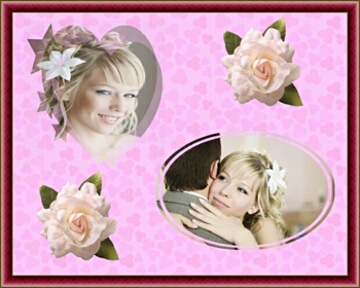
When you fancy something truly original while creating a photo collage, you should definitely learn to edit pictures with masks. This is a fascinating technique of making the edges of a picture transparent, blending it with the background. There are masks with different shapes and effects – your photo can appear like a piece of old parchment, or surrounded by sunrays, or slightly covered by mist. The masking technique offers endless opportunities for creating exclusive fabulous photo compositions.
In order to edit pictures with masks, you don’t need any knowledge of computer graphics and sophisticated image manipulations. Whereas previously you would have to master some complicated photo editing programs for professionals, today this technique is available to everyone. User-friendly photo collage software will do it all for you. However, experienced photo gurus will also appreciate the rich masks collection included in this software, as well as the possibility to use a mask and a picture frame combined.
Here is how to edit pictures with masks in Photo Collage Maker, and some sample ideas of using masked pictures in a photo collage.

Once you have designed the basic layout and added the photos, you should open the Frames and Effects tab in the left pane. Inside it, you will find three tabs: Frames, Masks, and Filters. Open the Masks tab, and browse the gallery – different categories will appear in the dropdown menu. You can choose from Round, Rectangular, Fancy, Gradient, Themed, and Miscellaneous masks – there are dozens in each category.
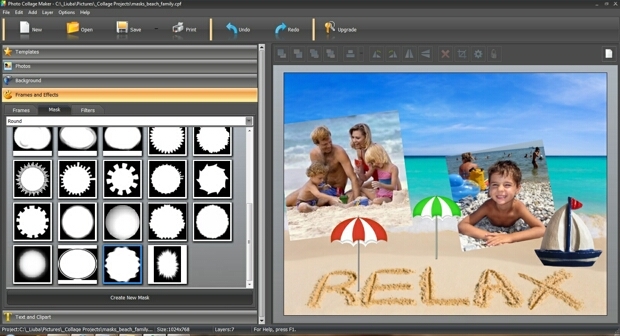
To add a mask, choose a photo with a single mouse click, and then double-click on the mask you’ve chosen. You can also drag and drop the mask to the picture. Try various masks until you get the desired effect. Sometimes it is helpful to crop a photo or rotate it to get the perfect result. In How to Make a Photo Collage you can find detailed instructions for doing that.
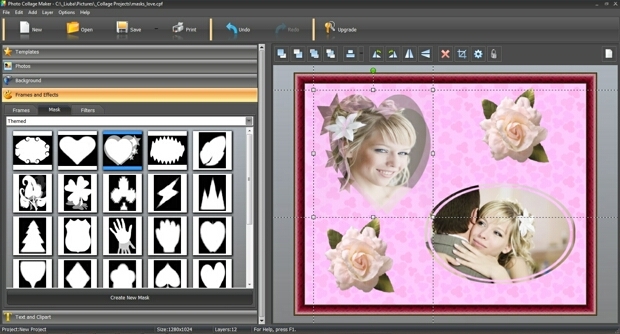
For a soft blend, you might want the edges of your masked picture to be the same color as the background. In order to blur the edge with the background and make the border virtually invisible, drop a shadow and adjust its color. To drop a shadow, right-click on the masked picture, and select Settings. You will see three tabs – Main, Decoration, and Effects. Open the Effects tab, and check the box “Drop Shadow”. Select the Color that will match your background, and then adjust the depth, blur, and angle of the shadow.


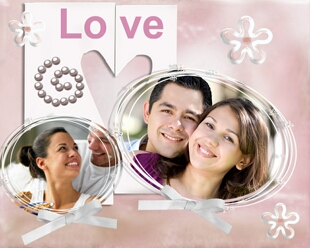
Masks will add a charming final touch to a Wedding Photo Collage and a New Year's Collage. You can also edit pictures with masks to realize creative Scrapbook Page Ideas.
Have a lot of fun experimenting with the magic masking tools offered by Photo Collage Maker!

