How to Make a Christmas Card

From the end of the fall season, the spirit of Christmas is in the air, with its festive music, decorations and gifts. All of us are looking for the perfect present, as well as for the perfect Christmas card for each of our loved ones. The shelves are stacked with hundreds of various cards, ready to be signed – however, we often look them through one by one and fail to find a really personal greeting card for someone special. This sounds familiar, doesn’t it? The best thing to do is to make a Christmas card by yourself, sharing your Christmas joy with those who surround you!
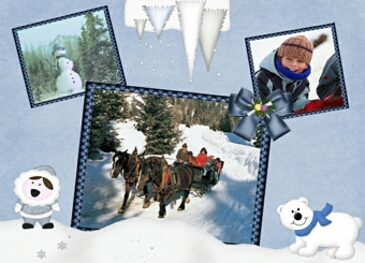
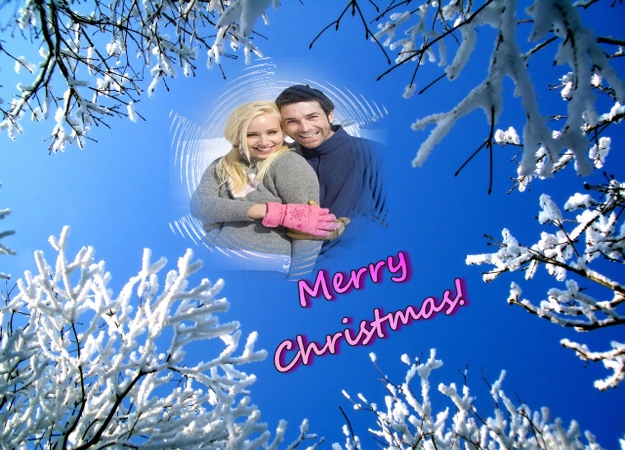
With personal photo-quality printers and photo paper widely available, it is easy to print gorgeous Christmas cards, whereas smart computer programs like photo collage software let you create stylish eye-catching designs. Even if you want to send personal cards to three dozens of friends and relatives, and time is tight, you will only spend minutes for each one, as the computer lets you do that quickly and easily. When you make a Christmas card on the computer, you can use your own family photos or great landscape shots, add a variety of decorations, and a personal message or a verse. Here are some tips for making Christmas cards with photo collage making software.
Make clever use of Page Settings
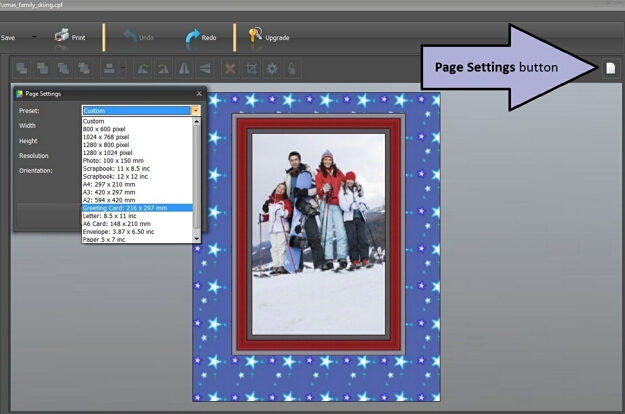
Are you going to make a Christmas card that should fit an envelope to send it by mail? Do you intend to print it on card stock paper, or traditional sized paper for greeting cards? Knowing the output format in advance, use the Page Settings to specify the project format before you start. It will let you see how all the pictures and decorations fit, and avoid unwanted distortion later on. In Photo Collage Maker, you can access the Page Settings in the top right corner of the main working pane. You can choose from a variety of preset formats, in pixels, inches and millimeters. Make sure you specify 300 dpi resolution for the best output quality.

Create fancy backgrounds
In any greeting card, the background adds a lot to the overall impression. Instead of just setting some color or texture as background, you can use a photograph or a picture – the same as you do with your computer desktop. Browse the pictures on your computer, select the one suitable for the card background, and choose Stretch, Center or Tile. Another cool variant is the Gradient background. Photo Collage Maker has a collection of gradients, and it also allows you to mix any colors to create a custom gradient. When you click Select Gradient, you see two tabs – Gallery and Editor. The Editor tab allows you to choose and mix as many colors as you wish, and the big window shows the resulting gradient color. This way you can create fantastic backgrounds perfectly matching the pictures and photos that you use to make a Christmas card.

Add a message in any font and style
The final touch for your Christmas card will probably be a Christmas greeting, a warm wish, a quote or a poem. Its style should be in harmony with the pictures and decorations. Adjust the size of the text message using the buttons that surround it, rotate it using the green button on top. Click Settings to get access to all possible text manipulation features. Choose a suitable font – fonts that look like handwriting, such as Mistral or Segoe Script, are probably the best choice. The text color can be solid or gradient – you can follow the instructions above to create an amazing custom gradient. The Effects tab in text settings lets you add a border of any color or drop a shadow for a 3-D effect.
These tips should help you make a Christmas card of professional quality. If you enjoy that, you might also be interested in other Picture Gift Ideas for Christmas.
Download Photo Collage Maker and enjoy making beautiful Christmas cards, gorgeous scrapbooks, stylish photo collages and more!


